Congratulations on successfully completing the crafting journey of creating your very own piñata! You've poured your creativity and effort into this project, and now you have a delightful masterpiece ready to infuse excitement and joy into your next celebration. Whether it's a birthday bash, a graduation party, or any other special occasion, your handmade piñata is guaranteed to be a hit with guests of all ages.
As you step back and admire your creation, take pride in the intricate details, vibrant decorations, and sturdy construction that make your piñata truly unique. Each element, from the carefully cut cardboard shapes to the colorful layers of crepe paper, tells a story of creativity and craftsmanship.
Imagine the smiles and laughter that will fill the air as friends and family gather around your piñata, eagerly anticipating the moment when it bursts open to reveal its hidden treasures. It's a magical experience that will create lasting memories for everyone involved.
But beyond the fun and festivities, your piñata is also a testament to the power of imagination and hands-on creativity. By embarking on this crafting journey, you've embraced the joy of making something with your own two hands—a reminder that creativity knows no bounds.
So as you prepare to hang your piñata and kick off the celebration, take a moment to reflect on the journey you've taken. From gathering materials to putting the finishing touches on your creation, every step has been an opportunity to explore your creativity and express yourself in a unique way.
Thank you for joining us on this crafting adventure. We hope you've enjoyed the process as much as we've enjoyed guiding you through it. Now, as you gather your materials once again and prepare to unleash your creativity, remember that the possibilities are endless. So go ahead—let your imagination run wild and let the crafting fun begin anew!
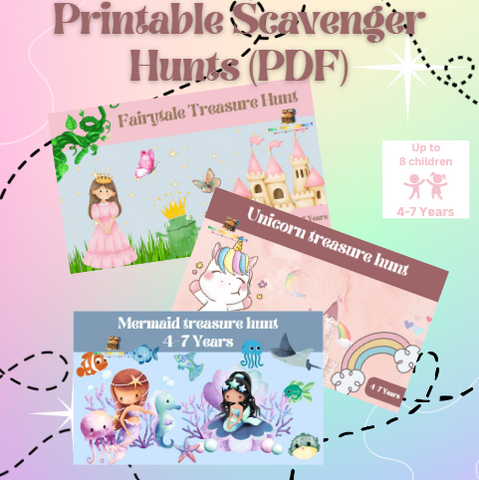
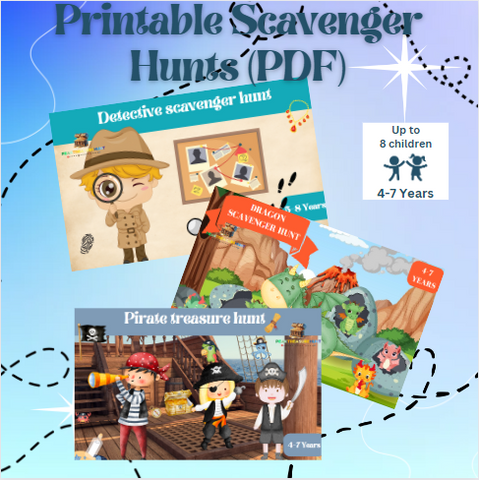
Discover our Complete Scavenger Hunts Collection.